Wednesday John and I traveled to Little Rock (I told Girl 1 over breakfast that day that we were headed to "The Big City." "You're going to New York City today?!") for our first in-person meeting with the architectural team that will design our new home.
We'd done our homework and were weighted down with post-it noted coffee table books, iPad with organized Pinterest boards, and my binder titled "Home Design" that I've been adding snippets to for years.
I won't get into all the nitty-gritty of the meeting, but let me say these few things about it:
1. I am feeling so very blessed to be working with the folks we're working with. Their firm's designs tend toward the modern, but they are completely on board with our desire to create the Modern Farmhouse that we have in mind.
2. They are very well-versed in green construction and home systems, and we are very excited about talk of passive solar, geo-thermal systems, solar panels, and greywater harvest, to name a few things.
3. I am going to absolutely love the process of watching them work their magic as they take all of our weird little notes and preferences and fashion it all into a neat little home.
4. What they come up with will be just right for us and the way that we strive to live. You, however, would probably rather stay put than move into the house we will build. It's just going to be so us. You may walk through it and wonder Why is there no closet in this bedroom? or Why is there no freezer in the kitchen? or Why is there a shower outside? or Is this a pantry or a room? If you know us at all, though, you know that these design choices are made quite deliberately in an effort to create a space that fits the way we live.
5. I'm excited about sharing this process with you. I hope you don't get bored with it because I intend to document each little step of this amazing journey.
Friday, September 13, 2013

Thursday, September 12, 2013
Ever Heard of a Hoarse Goat?
Poor Star is still not very happy about being penned up with Dallas. In fact, she's made herself hoarse in protest!
Naturally, I try to make things all better by offering her one of her favorite treats. :)
Wednesday, September 11, 2013
Messy, Messy Ketchup!
If next year I start talking about wanting to can some more ketchup, please remind me that Heinz is just fine. :)

A buddy from Canning Club told me that I'd never go back to store-bought ketchup once I'd tasted homemade.
And, yes, I'll grant her that if I were making a decision based on taste alone, she would be entirely correct. This stuff is GOOD!
She forgot to mention and thus factor in, though, the time involved and the MESS!
My amazing hubby worked with me for the solid 5 hours it took for us to complete this project. As it got later and later and neared midnight, I admit that I got a bit cranky about it all. He persevered, though, and encouraged me, and we did (finally) get finished.
Then, though, we had to begin the clean-up. And, if I'm being honest, it's still going on. I keep finding sticky splatters in remote places. And, even though the kitchen floor has been mopped twice, our shoes are still making that sticky sound when we walk across it. :(
I'm guessing it was so messy because my pots weren't really big enough to accommodate the boiling goop, and it was so sticky because it contains about 1 cup of sugar PER PINT! Wowza! Still, it's got to be better for us than the high-fructose-corn-syrup-packed store-bought variety that currently inhabits my fridge door.
Tuesday, September 10, 2013
Oreo Has Died and Gone to Heaven
No, he's not literally in heaven. But, he's happier than he's ever been in his short life.
He was born into a tiny birthing pen then immediately placed in a small pen with lots of other babies. Once we bought him, we moved him into our buck pen. While much larger than his previous home, the grass and space was limited. And, he was just a fence away from our huge field and all the ladies. But his time has now come!

It's breeding season! So, he's been let out into the big field that has always been just beyond his reach -- with all the grass he could possibly eat . . . and all the ladies he could possibly, umm, well, you get the point. We're hoping he will breed with Razz, Honey, and Izzy this fall.

Star is the only girl not old enough to be in the field with the buck Oreo. So, she's been relegated to the small pen and is NOT happy about it. She's does have a companion with her, but she's finding him (Dallas, our fixed male) a bit lacking and has spent the ENTIRE day bawling.
This particular pic makes me sad. Poor Star is now just a fence away from her Momma Razz. They've been apart for over a month now as Star is being weaned, but they've been further apart until today. Now, with just a fence between the two of them, Star just followed her Momma around the perimeter of the fence, getting as close as she could get.
Monday, September 9, 2013
Fall Chickadees!
Several of our laying hens are past their prime, as they are usually only at peak egg production for a couple of years. So, we decided to go ahead and add some more chicks to the farm now so that by spring they'll be old enough to lay.
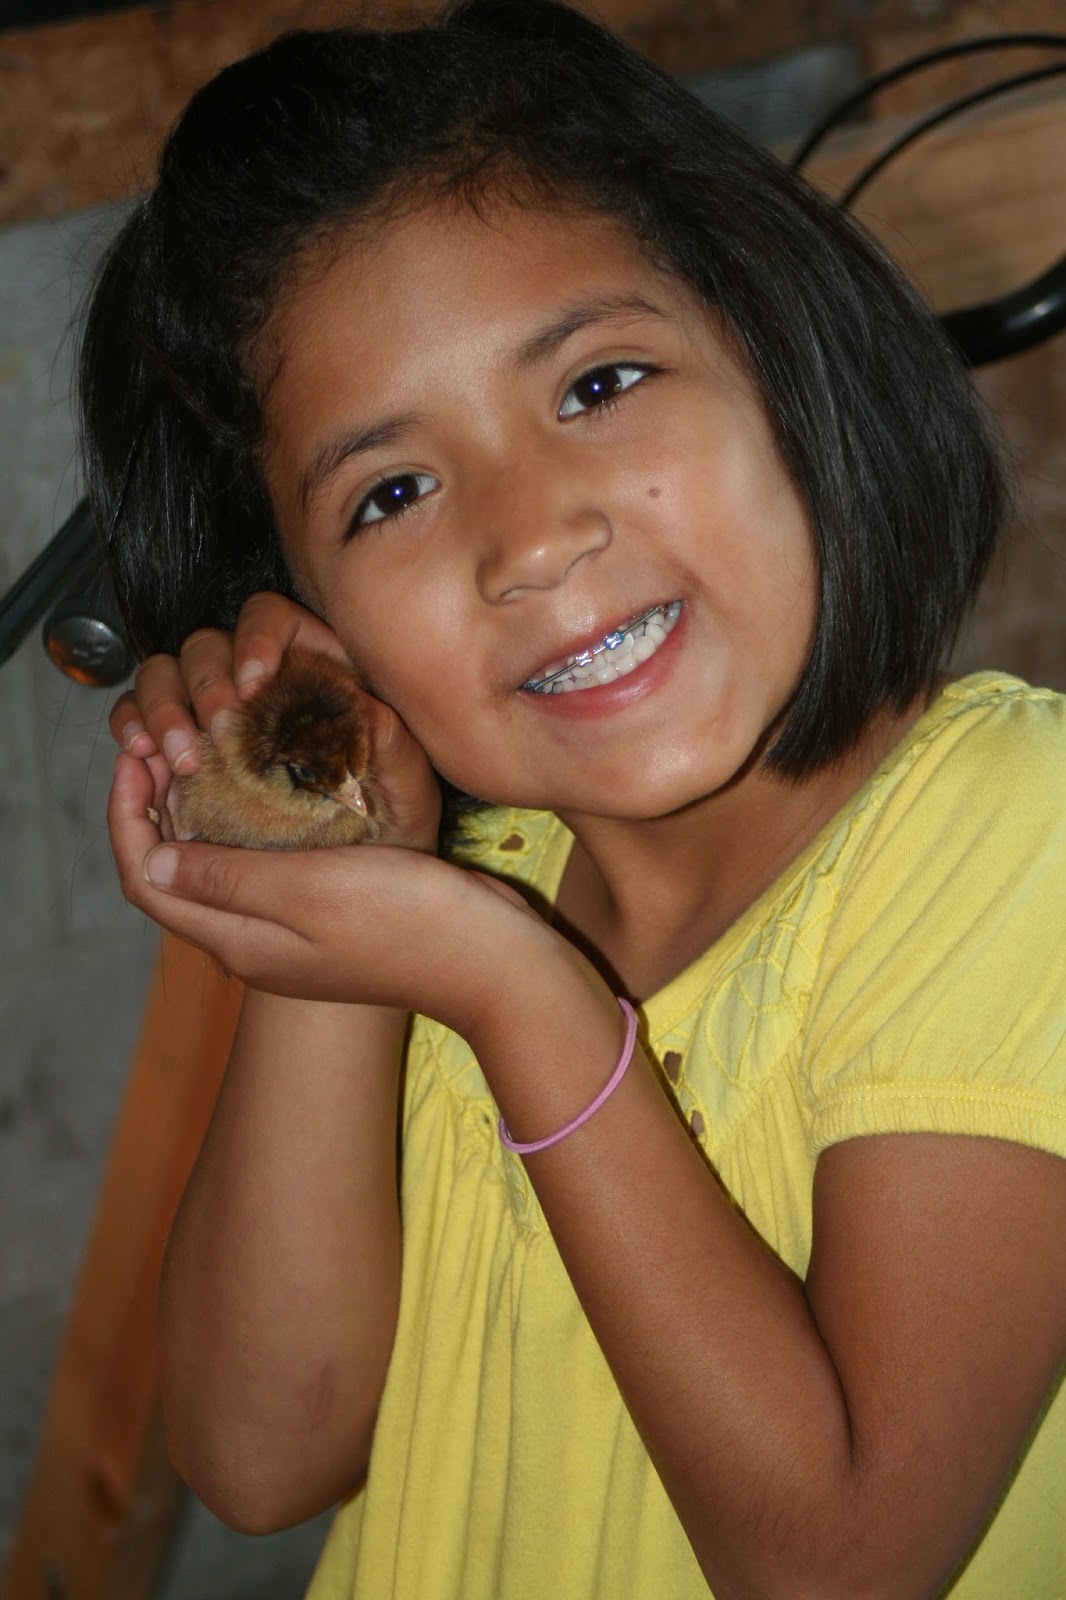
Our hatchery of choice, Murray McMurray, required a minimum order of 15 chicks, so we went ahead and ordered that many, even though we don't need that many layers. We ordered 5 Araucanas (these are the ones that lay green/blue eggs and have proven to be very hardy), 5 Brown Leghorns (these are a very productive breed that will lay white eggs), and 5 Red Rangers (a meat breed, to round out the 15-chick minimum order). They did include a free rare breed chick -- let's hope that turns out better than it did the last time (if you don't know what I'm talking about, click here for the tale of Chubby, the chicken).

It's always very exciting when the post office calls to tell us that our chirpy little package has arrived! We are keeping them in the garage, which tends to get VERY warm in the summer time, so I'm having to keep a pretty close eye on the thermometer and turn off lights/raise the garage doors for ventilation as necessary. We've actually already lost a Red Ranger, and we suspect that heat was the culprit.
Saturday, September 7, 2013
Guest Post: Our Cheap, Blueprint-less Chicken Coop

Hi, I'm Jess (an old college buddy of Ashley & John's) and I blog at Making Home.
Like I said, we have six children, and I stay home. So buying the $1000+ deluxe coops with trendy colors and Ikea-like assembly instructions was an option far beyond our means.
Thankfully, a friend was in process of completely redoing his pool deck. He let us pick through his used cast-offs. That and a Facebook shout-out for plywood gave us all the wood we've used. So the project of the blueprint-less chicken coop began.
The tools we had available were:
- Table saw (borrowed from a friend)
- Miter saw (borrowed from Doug's uncle)
- Hammer & nails
- Drill for installing hinges & attaching the coop ramp
I took notes and drew out probably 10 different potential plans that I liked. Here were the main things I took into consideration as we drew up our plans:
- Direction of the sun-- this is particularly important here in TX, but I think it would be a factor anywhere. I wanted the chickens to have plenty of shade throughout the day.
- Security-- Obviously I want the chickens to be well-protected.
- Ease of design/building-- Aside from painting stretcher-bars in college, Doug & I had never built anything before. Literally, nothing. So keeping things fairly easy, construction-wise was a priority.
- Good ventilation-- my plan included two windows + vented eaves
- A Place to roost, a place to lay eggs, a place to eat-- meeting basic needs of the chickens.
Here's what we did:
We used our old ping pong table as the floor/foundation for our coop, attaching 4x4s as the supports underneath. We actually had two ping pong tables, and one of them was moving toward ruin, so we opted to salvage the usable parts and make the coop floor. This picture doesn't show it, but we actually used 3/4 of the table, if you can imagine that... we cut the second half along the center white line and connected it to the side of this half:

Next, we framed the four walls. I measured the edges of the table/foundation, remembering to subtract the width of any connected walls:

After we put the framing up on the floor, I cut plywood to fit each wall, leaving the windows and doors open, so that chickens wouldn't roost in (and poop in) the framing/walls.
For unusual DIY features like the egg box and coop ramp, I researched before building. I looked at a lot of pictures of other people's coops, took notes of what I liked, general dimensions (our egg boxes are something like 11x11 or 12x12-- just big enough to lay in, but small enough to feel cozy), etc., and then looked at the wood we had available, and built it with those things in mind.

Instead of chicken wire, we used 1/2 inch hardware cloth. It is more expensive, but with hawks and raccoons and even bobcats having stolen friends' chickens within a few miles of us, we decided that for our coop and adjacent chicken run, we would spend the extra money to actually protect them.
For rain to stay off our chickens, I made a simple slanted roof. To make the riser from the higher side (48 inches) to the lower side (36 inches) of the coop, I used a 2x4 to support a coop-length 2x4. Because I'd read about the way that ammonia can gather in a coop and how important it is to have good ventilation, I opted to leave the eaves open, rather than siding them, and staple-gunned hardware cloth over it.
(I figure, as time goes along, if I notice that this makes for a wet/snowy interior in certain months, I can always use plastic tarping to cover one or both sides, but it would be much more difficult to retro-install adequate ventilation.)

After getting the bones in place, I began using reclaimed 1x4 pieces to make siding for our coop. I chose to use the thinner 1x4 pieces so that the exterior would be uniform and less heavy. We also had 2x4 and 2x6 pieces in our wood pile, but the 1x4s (and occasional 1x2) turned out to be just right for siding. I also used 1x4s for the roof base, since I'd run out of plywood.
The miter saw was invaluable at this point, so I could make sure the edges lined up nicely:

Here's what the inside of the coop looks like, from the Northern door opening:

You can see that we have a 2' x 4' window that makes up almost half of the northern wall. I opted to do that for airflow and so that they would get plenty of light in the coop, without it ever being direct light.
Also visible in the above picture are the roosts (there's a total of 10+ feet of roost space available for the girls), eggbox, and the 1' x 1' door that will lead to the coop ramp into the chicken run out the western side.
You can also barely see (but it may be more visible in the larger picture if you pull it up) the rebar (at ceiling level) I will use to hang my watering buckets from. We opted to make our own watering buckets with poultry nipples so that the girls can't kick up grass, feed, and chicken poo into their water.
so that the girls can't kick up grass, feed, and chicken poo into their water.
Here's the nearly-finished version of our blueprint-less chicken coop. You can also see the 1x1 window I put above the chicken roosts to pull airflow closer to the birds without actually being across them (they do well with ventilation but not breezes).

We installed doors this last week, but I don't have pictures of that. We just cut plywood to the appropriate sizes, used 1x1s to act as door stops (so the doors will open outward but not be able to be pushed into the coop) and installed them with basic T-hinges we found at Home Depot.
In all of this, I guess it's obvious, but I just let logic and the materials we had on hand guide my plans. I did measure as we went along, but only for the coop to match up with itself, not to meet any particular plan. It makes it slightly more necessary to do math and cut wood for the space, rather than according to a nice & neat blueprint, but it also allows you to use up what you have and not buy expensive wood.
This made it so that we could use the materials we had, and meet the goals we had, for as cheap as possible. When we looked at what we would have spent just on materials, had we not used reclaimed wood from a friend, we would have easily spent $800 or more just for wood & plywood.
In total, we spent $20 on wood (one friend had extra-good plywood & 2x4s available that they'd purchased to build a bunk bed but never gotten around to building; all the rest of our wood was free), used partially-rusty-but-straight nails we salvaged from our workshop and about $50 on hinges and such , and then we've spent about $100 on enough hardware cloth to do not only what was pictured above but also to do an attached 15' x 8' x 3'tall chicken run so that they will always have one safe, enclosed space to roam, in addition to occasional free ranging through our fenced yard.
By reclaiming wood from friends and using what we had on hand, the entire DIY coop for 10 chickens (and attached run) will, in the end, cost less than $200, but I think it is comparable in space and quality to coops I've seen selling for anywhere from $1500+. We like the reclaimed, older look of it, as if it's been around for a long time, and I think the chickens will love the safety, easy living, and ventilation of it.
The blueprint-less chicken coop suits our needs and our budget, which was the initial goal.
I hope this walk-through proves useful for other adventurous souls out there who are ready to do their own DIY chicken coop.
Friday, September 6, 2013
Follow-up Friday: The House is Officially on the Market!
Yep, we've taken the next step and listed the house!

As excited as I am about our new farm and what lies ahead, I must admit -- seeing the sign in the yard gives me pause.

This house has been a great one for us, and it holds so many, many memories. Thankfully, those memories will not be sold along with the house; we get to pack them up and take them with us to whatever lies ahead. Our life as a family thus far has taught us that our identity and security are not tied up in our things.
As I stood back and took this pic of the house, I was reminded of the video I made of the house when we were buying it. I stood way out here on the road and talked excitedly as I scanned the yard about all the ways the house would be perfect for us, as Girl 1 toddled around in the driveway. For over seven years, we've called this house home, and it has turned out to be perfect for us.
Now that we feel a calling to move on, we pray that this house will become someone else's perfect place.
Oh, and don't miss tomorrow's post! Here's a teaser: an old college buddy is the guest blogger!
Subscribe to:
Posts (Atom)