From building a pen, to painting the inside and outside of their shed, to carefully selecting, stacking, and filling their food bins, to taking the kids to the store to pick out their collars (and so much more) -- we've done a lot to prepare for our goats' arrival this weekend.
But, with all of that done, there's nothing left to do but wait.
But, I don't do "idle" very well. So, I decided that since their shed looks so nice now that it's been freshly painted, it deserves a little decor. I found this sign online for $32 (click image to see it on Amazon) and decided to use it as my inspiration. Honestly, I like my finished product even better!
The challenge, of course, is to create a new sign that looks old. To do this, I combined several techniques I read about on various other blogs and Pinterest.


1. I started with this piece of plywood which used to be a part of our rabbit pen, but has since made its way to the trash pile because my amazing hubby has built Cocoa Puff a great new hutch (that's a future blog post).

2. I knew I wanted to distress the wood, so I painted it a dark brown (leftover from our kitchen update a couple years ago) first so that that would peek through later on.
3. Then, I topped the dark brown with a red (leftover from our chicken tractor).

4. I chose a font and printed out the lettering.
5. Once I had an idea of where the lettering would go, I used a yardstick to draw guidelines for where I would paint the white border.

6. I painted the white border with paint leftover from painting the garden boxes.
7. Once it was dry, I laid out the letters and traced over the edges with a ball point pen, bearing down hard so as to create an indentation in the wood.

If you look closely, you should be able to see the indentation left behind by the ballpoint pen through the paper.
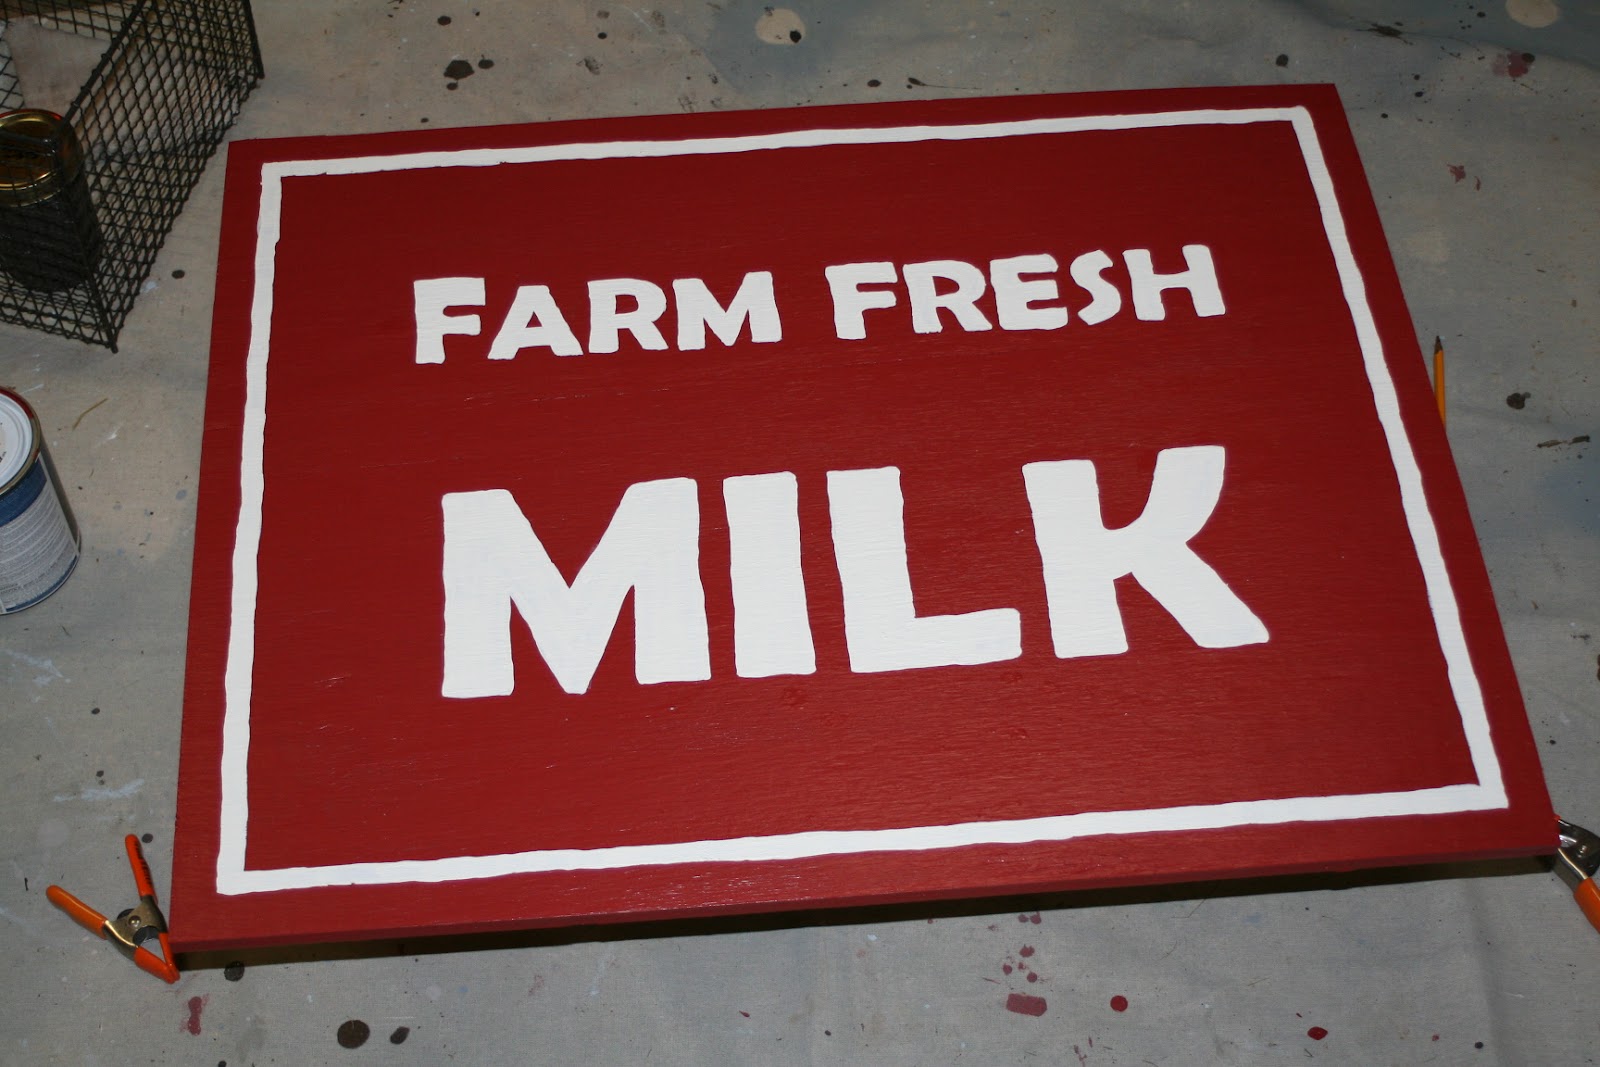
8. Paint the lettering. I do not have a very steady hand, but the indentation in the wood creates a kind of well that keeps the paint from spilling over out of the lines. This method really worked great!
At this point, the sign is finished in its "new" form, but I wanted to beat it up a bit.

9. This is definitely the most fun part. Using sandpaper, I just went to town on it. This allows the dark brown and even the wood beneath it to peek through.

See how the corner reveals the bright young wood underneath, giving it away as a new piece?

10. I used some wood stain (leftover from my recent rocking chair update) to age all the spots where the wood was showing through. I applied it with a brush then wiped away excess with a rag. See how the corner now has a darker, more weathered look?

A closer look at a heavily distressed part of the sign

The can on the left is the Bombay Mahogany Satin stain I used.
11. Then, using the polyurethane in the can on the right, I coated the entire finished product to protect my perfectly-weathered sign from actually getting weathered. ;) I did actually have to buy the polyurethane. As the only thing I had to buy to complete the project, I was able to do the whole sign project for $6.00.

Here's a look at the finished product.

And here it is hanging on the wall of the goat shed.

I hope the goats will appreciate their decor. ;)
No comments:
Post a Comment